
Printing a Disc Label from a Computer
This section describes how to print photos on a printable disc with My Image Garden.
![]() Important
Important
- Do not attach the disc tray until the message asking you to load the printable disc is displayed. Doing so can damage the printer.
-
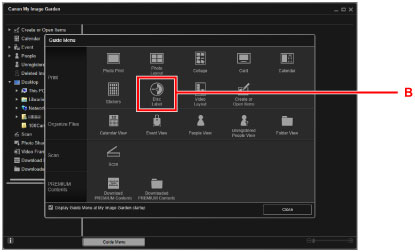
Click the My Image Garden icon (A) in Quick Menu.
The Guide Menu screen is displayed.

 Note
Note- The number and types of icons displayed vary depending on your region, the registered printer/scanner and the installed applications.
-
Click the Disc Label icon (B).
-
Specify the theme, Paper Size, etc. (C).
-
Click OK (D).

-
When a dialog screen is displayed, click OK.
-
Click Add Image (E), then select photos to print onto the disc label.
Note- The layout may not be as expected depending on the photo information or analysis results of the selected images.
-
Edit the disc label (F).
You can change the background or add texts.
-
For Windows:
-
For Mac OS:
-
-
Click Print (G).

-
Specify the number of copies, your machine name, etc. (H).
-
Click the start button (I).

For Mac OS, click OK when the confirmation message appears, then click Print. When the confirmation message appears again, click OK.
-
When the message asking you to load the printable disc is displayed, open the operation panel (J), and then pick out the disc tray from the disc tray storage compartment (K).

-
Place the printable disc with the printable surface facing up on the disc tray.

-
Insert the disc tray into the disc tray guide.
Insert the disc tray straight until the white line on the disc tray guide is almost aligned with the arrow (
 ) on the disc tray.
-
Start printing.
For Windows, click Start Printing on the dialog screen.
For Mac OS, tap OK on the touch screen.
The disc tray is drawn into the printer, then printing will start.
After printing is complete, pull the disc tray out from the printer.
![]() Note
Note
-
My Image Garden enables you to print photos onto the disc label with various layouts.
-
For Windows:
-
For Mac OS:
-
